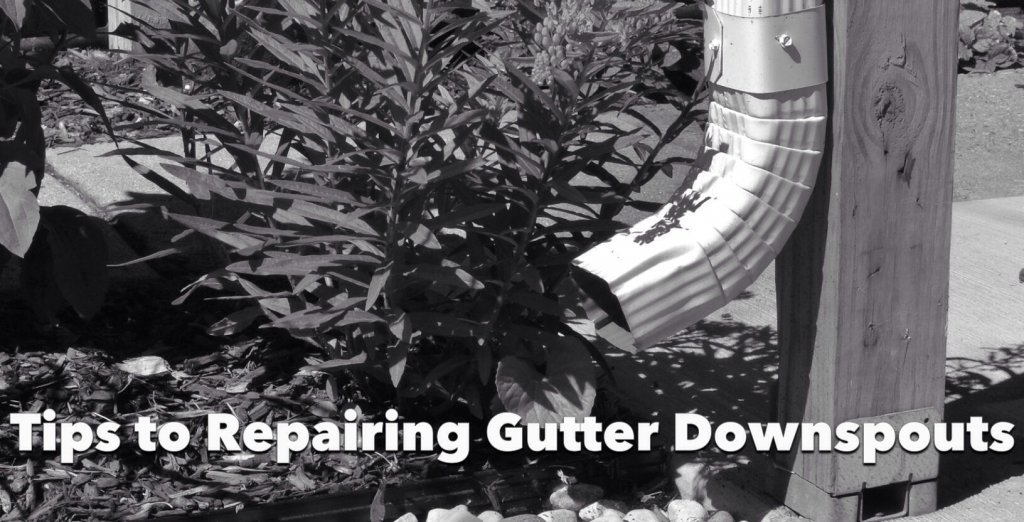
The downspouts on your home’s (or commercial property’s) gutter system are the enclosed pipe (or pipe-like) extensions of rain gutters that run vertically down from the roof, extending to the ground level and traditionally pointing away from the foundation. The water runoff captured by the gutter system enters the downspout and is expelled far enough from the base of your home to protect it from water damage. Because downspouts run down the exterior of a home and point outwards (to jettison the runoff) they are more susceptible to breakage from elements that range from harsh weather to family bouts of backyard soccer. Live in your home long enough and you will eventually have to repair a damaged downspout or two. Follow the five steps below when the time comes.
5 Steps to Repairing the Downspouts on Your Home’s Gutter System
1. Separating the Downspout
Unless the repair work is exclusively targeted at the end tip of the downspout you will likely need to create some distance from the exterior wall of your home or carport stilt. Keep a putty knife on hand as you may need to dislodge it in areas where debris has caked up between the downspout and wall/stilt. Otherwise, a standard screwdriver will do the trick in removing the anchors and straps that keep the downspout in place, allowing you to create that distance for further inspection.
2. Inspect and Clean the Downspout
Before you can begin the repair process you should inspect your downspouts for additional damage. Before doing this, you must clean them first. Grab a long garden hose and climb up on a sturdy ladder (with care) and release a healthy stream of water into the point where your gutters connect to the downspout. You’ll be able to identify is there is any clogging from debris by noting if the water expelling from the end of the downspout matches the velocity of the water entering it in the first place. If it seems to filter out slowly, then you will need to manually clean out the debris, possibly using a plumber’s snake for especially difficult clogs where there is underground drainage. Once clean of debris, you will be able to note any additional damage (leaks and breaks in the downspout) that needs to be attended to.
3. Repairing the Downspout
With the downspout separated enough from its position to attend to the identified leak/s, and all debris, rust, and sediment removed, you can begin to apply the sealant to the dry surface. The sealant/cement used in repair leaks in your downspouts will depend upon the gutter material. Whether you are working with aluminum, copper, or steel, inform your local hardware professional and ask for guidance in which sealant (silicone caulk, cement, etc.) should be used to cover the leak/s. Apply a thick bead of sealant to the point or origin and spread it evenly to the radius surrounding it. If fixing a zone that was previously repaired be sure that the old sealant residue has been completely removed during the cleaning process above. It should also be noted that if your gutter system is made out of wood (rare but found in some heritage homes and custom jobs) you will need to apply a thin coat of asphaltum paint to make the sealant application process (brushing and spreading) easier.
4. Replacing Anchors for a More Secure Fit and Future Damage Prevention
There is a good chance that the damage that came to your downspouts arrived from an issue with the anchors/straps that kept them in place, in the first place. The anchors may have come loose before their time, or if not an adequate material match (common to ill-prepared DIY jobs from previous homeowners) the straps may have caused a chemical reaction when combined with rainwater and gradually formed a leak in the downspout. Whichever the case you will want to replace the anchors and other appendages keeping the downspout firmly set in its position. Use corrosion-resistant, galvanized metal screws to affix these new anchors and avoid future wear and tear.
5. Bring in a Professional Gutter Repair Specialist
If you find that the damage to your gutter system’s downspouts is too extensive to manage on your own, or you simply do not have the time to deal with this necessary home repair, then your best course of action is to bring in a professional gutter repair specialist. If you live within the Lower Mainland all you need to do is contact us for a free no-obligation gutter assessment to find out if your existing gutter system can be fixed, and if so, we will provide you with a very clear course of action and estimate for the timely repair.
Looking for more DYI information on gutter repairs? Please enjoy this recent article on repairing leaky gutters.


Leave A Comment