


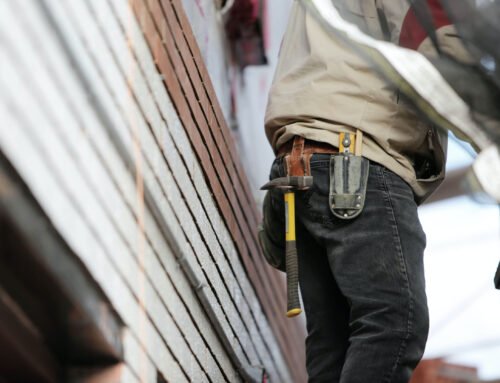
The necessity of gutter repair does not always come from extensive damage and leaks. The impediment to optimal performance in keeping your home safe from excessive rainfall above is often found from a sagging gutter system. Even the strongest of installations can begin to droop after years and years of exposure to battering rain, sleet, wind, and debris. Here in the Lower Mainland we are no stranger to such things, with our company on-call for those households in need of a “facelift” at the eaves of their home. If you are concerned about the state of your gutters and their ability to hold up to collecting water in the season ahead you may consider the following DIY tips below.
4 Steps Towards Fixing a Sagging Rain Gutter on Your Home
1. Identifying the State and Cause of the Sag
Identifying the cause will not just ease your curiousity, it will help determine your course of action and allow you to take proactive measures to ensure that you are not climbing up to your roof to perform the same duties again months after the initial repair. If the gutter itself (vs the spikes/hangers used to keep them in place) is noticeably and physically bent out of shape, there may have been a specific event that caused it, such as an especially severe storm or perhaps pressure applied from a ladder when hanging lights, replacing shingles, or other roof maintenance duty. In such situations complete replacement and installation of a new gutter section will be required, and all future roofing duties around the eaves managed with caution. In other situations the sag is less obvious, but still evident, at which point careful inspection to identify the culprit is required. If the average seasonal rainfall is to blame then you may need a wider gutter system. If it’s debris from trees in your yard then the repair may need to be accompanied by the installation of gutter guards. Either way, this “know before you go” mentality will serve you well.
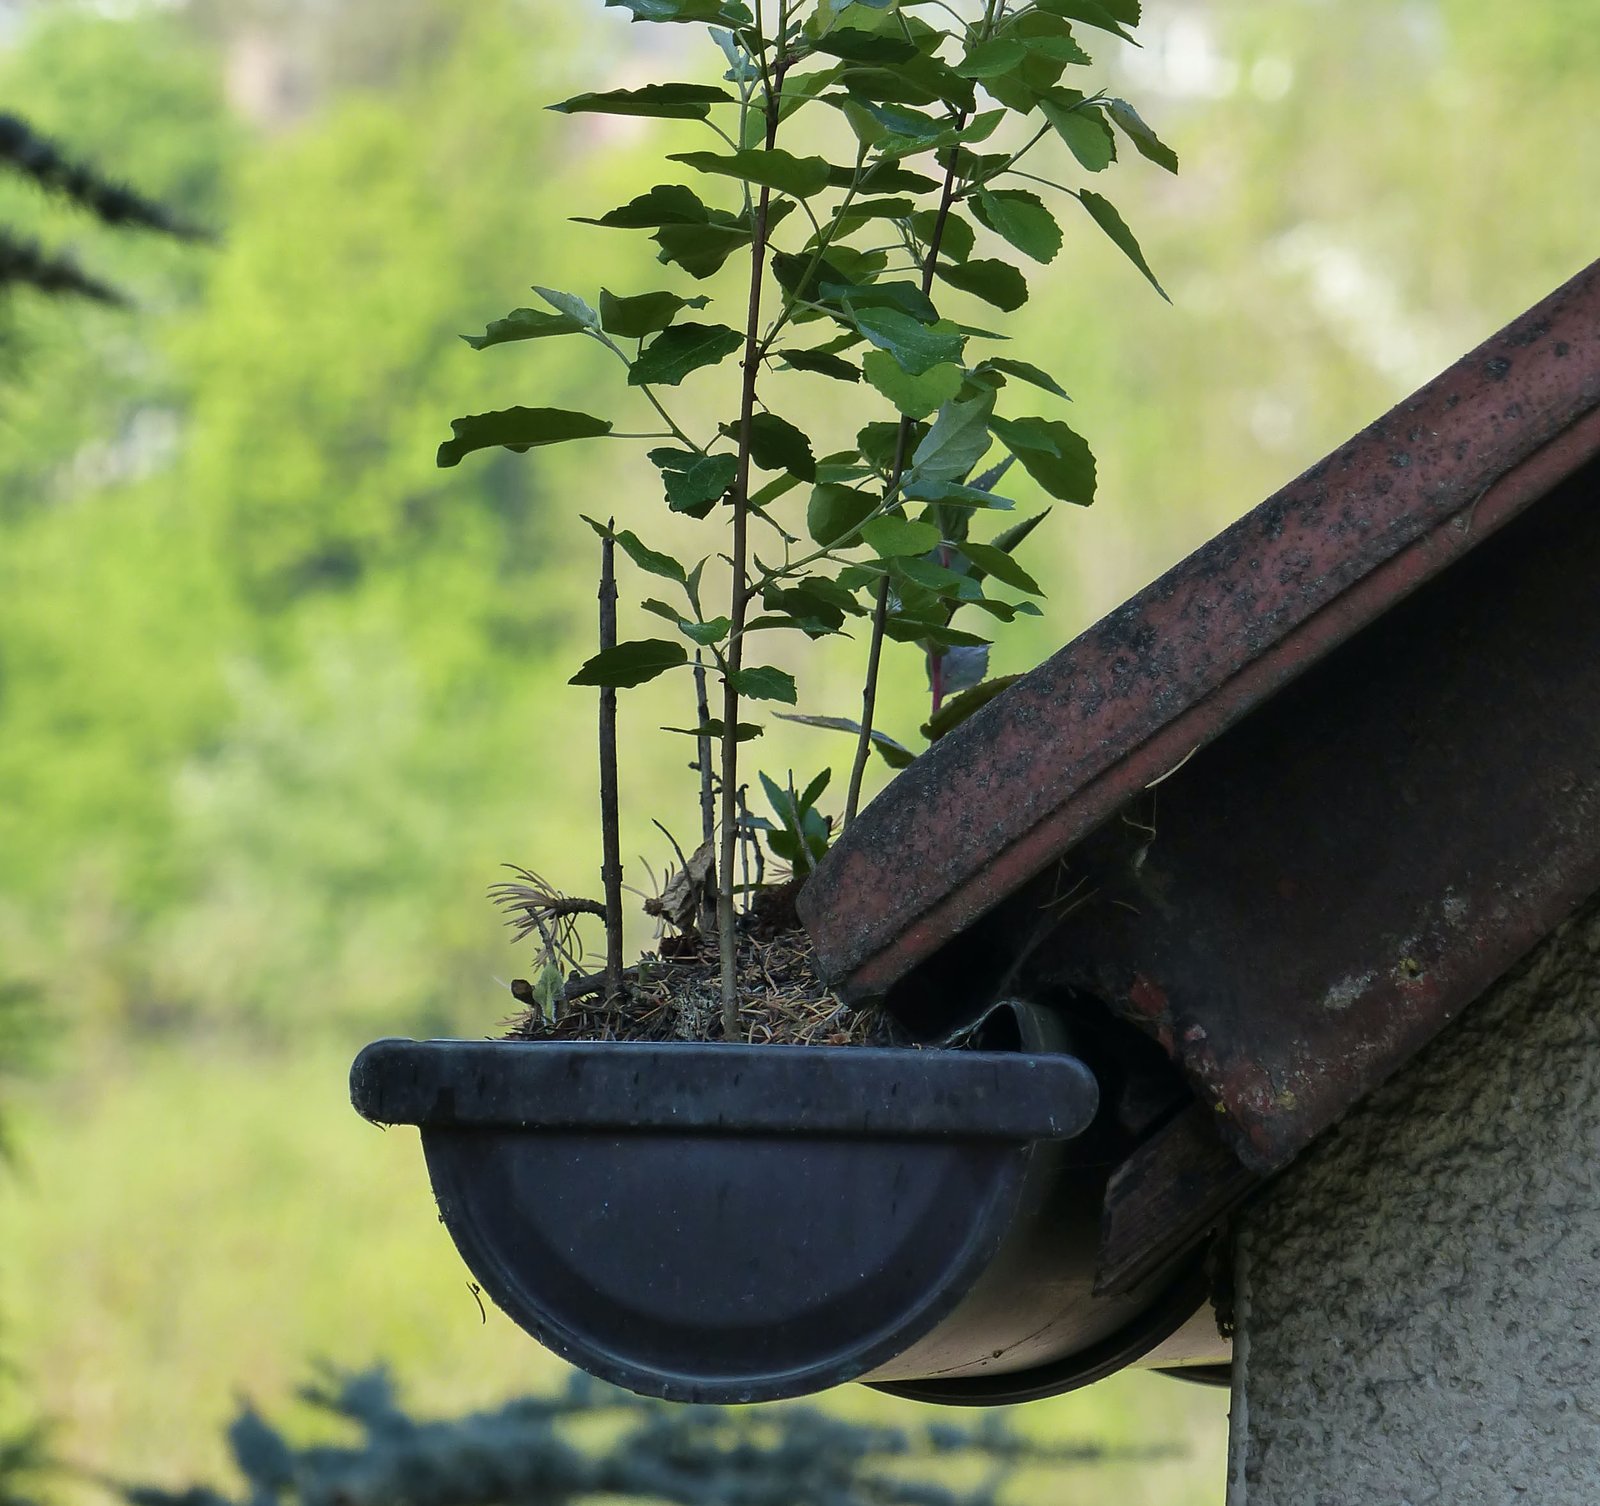
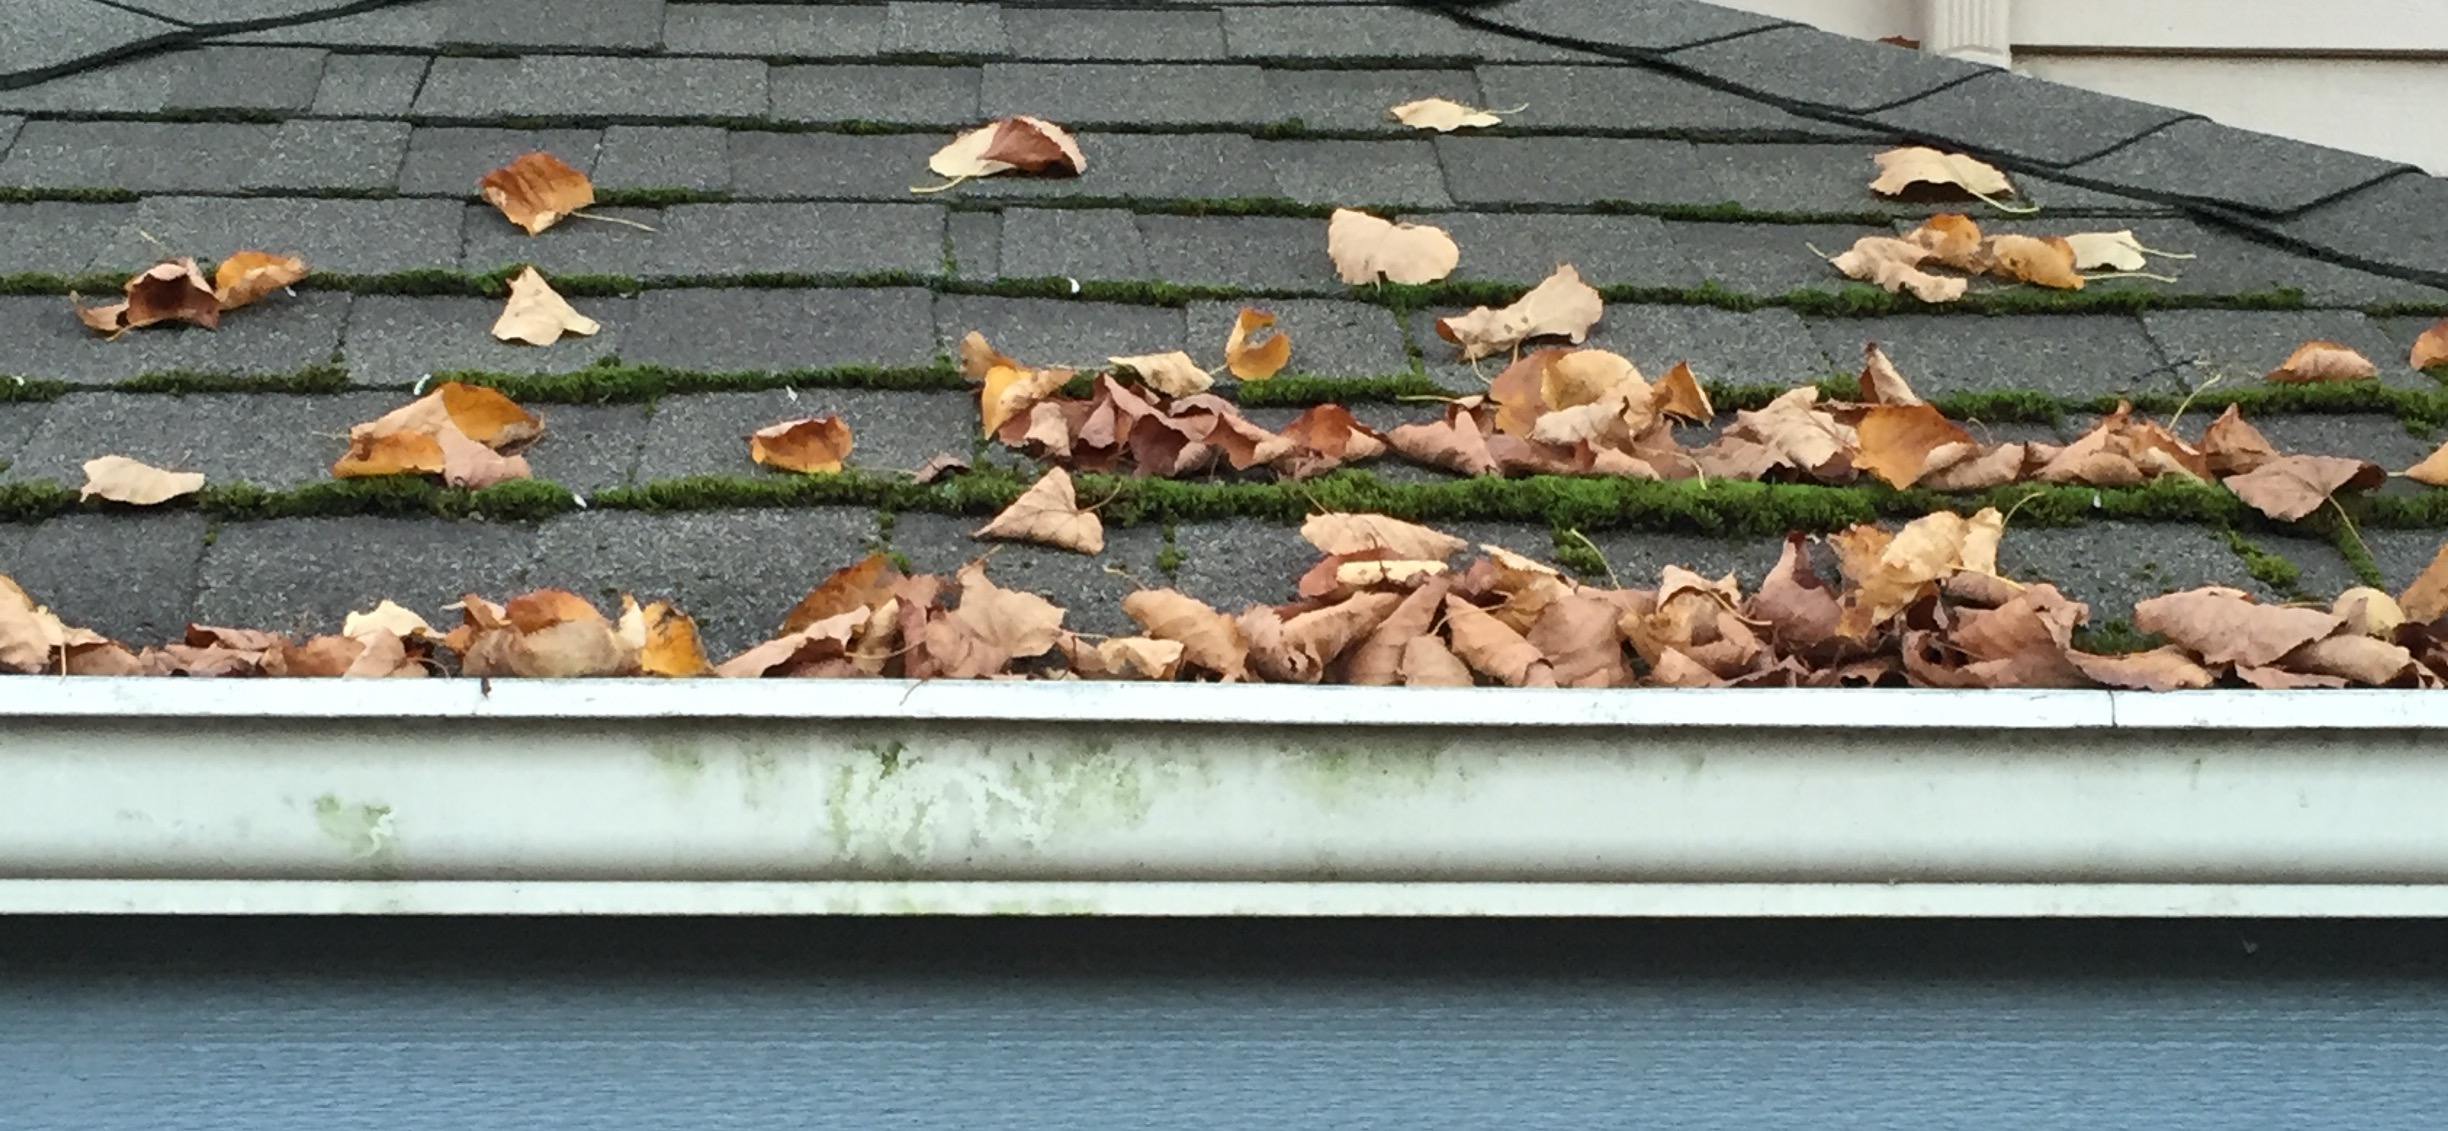
2. Clear Entire System of Debris
Once you’ve performed your analysis of what has caused the sag, added weight from debris included, you can proceed to remove the rubbish and waste from the trough. You may noticed that the level of your gutters returns to normal after this cleaning and removal, but this does not mean you should abandon your mission to repair the sag, even if it was caused by the excess weight. A properly functioning gutter system should not droop at all, even when there is a significant build-up of materials within it.
3. Replacing Damaged Brackets/Hangers
Chances are that some of the brackets that are keeping your gutter system in place have been damaged and will need to be replaced (not repaired) so a trip to the hardware store will be required. Be sure to remove the section of gutter where each bracket fix is needed first, as opposed to attempting to replace the brackets while the gutter is held up by the existing ones or with a free arm (or helper) – you set yourself up for trouble (with gravity) in doing so. In addition, inspect the zones where the bracket screws/spikes return to their place to make sure that each hole’s radius has not become too wide to fit the screw tightly. If this is the case, take note of item #4 below.
4. Replacing Damaged Spikes Along the System
Some of the spikes/screws holding the sagging gutter in place are also likely damaged. These bent and/or stripped appendages will need to be replaced with a high-grade variety perfectly suited to your gutter system. Examples of these spikes (for the uninitiated) can be found here and here. As mentioned in item #3 above, you must inspect the spike holes to determine if they are sufficient for re-entry and to keep your repaired gutter in place. It is also imperative that the holes line up in a perfect row. If not in exact unison, you may have found the direct cause of the damaged bracket/spikes and gutter. When screws are not level, the entire system can shift, especially when water and debris weight are added to the mix. Regardless, once it has been identified that holes are not sufficient in their current state you will need to fill the holes with water-proof caulk, letting the caulking dry completely before returning to the project. Once dry, you can drill the new spikes in place, fastening them to the sturdy brackets which will now hold your gutter system, free from sag.
Once the new bracket, spikes, and/or gutter sections are set, give the repaired system a test. Temporarily block your downspout entry points, grab the garden hose, and fill your gutter section up with water to the brim. Climb down from your ladder and take a good look to see if there is any evidence of a sag left. If not, you’ve just completed a successful gutter sag repair project – congratulations!
Unsure about tackling sag repair on your own? Live in the Greater Vancouver area? Contact AquaSeal today and hand this important project over to our expert gutter repair team – we’ll set your gutter system straight.


Leave A Comment