


If you have searched and found this article online chances are that you’ve noticed (or suspect) that there is a leak in your home’s gutter system. On the other side of the coin you may be taking proactive steps to ensure that if/when the time comes that you are well-prepared to act quickly (kudos on the forward thinking!). Whichever the case, today’s post dives into the gutter leak repair process, for those of you that do not yet have a PhD in DIY fixes for the roof of your home.
5 Do-It-Yourself Steps to Repairing a Leaky Gutter System
1. Come Prepared With the Right Equipment
Before you attempt to tackle the process you will need to check-off a list of items, so anticipate a quick trip to your local hardware store. They may not all end up being absolutely necessary but it is better to be prepared and not left hanging, literally (from your roof). For the most part, you will be able to get by just fine with the following:
- a roof rake (to clean the roof)
- a sturdy ladder
- a garden hose w/spray nozzle
- a waste bucket (for non-compostable debris) and a compost bin (for compostable debris)
- a trowel (for debris removal and to apply/spread sealant)
- gutter sealant (tell your hardware store professional what type of gutter you have before purchasing)
- a pair of outdoor work gloves
- a pair of safety goggles
- a drill w/drill bits
- replacement pieces for any appendages on your gutters (splash guards, etc…)
- paint (for repair spot touch-ups)
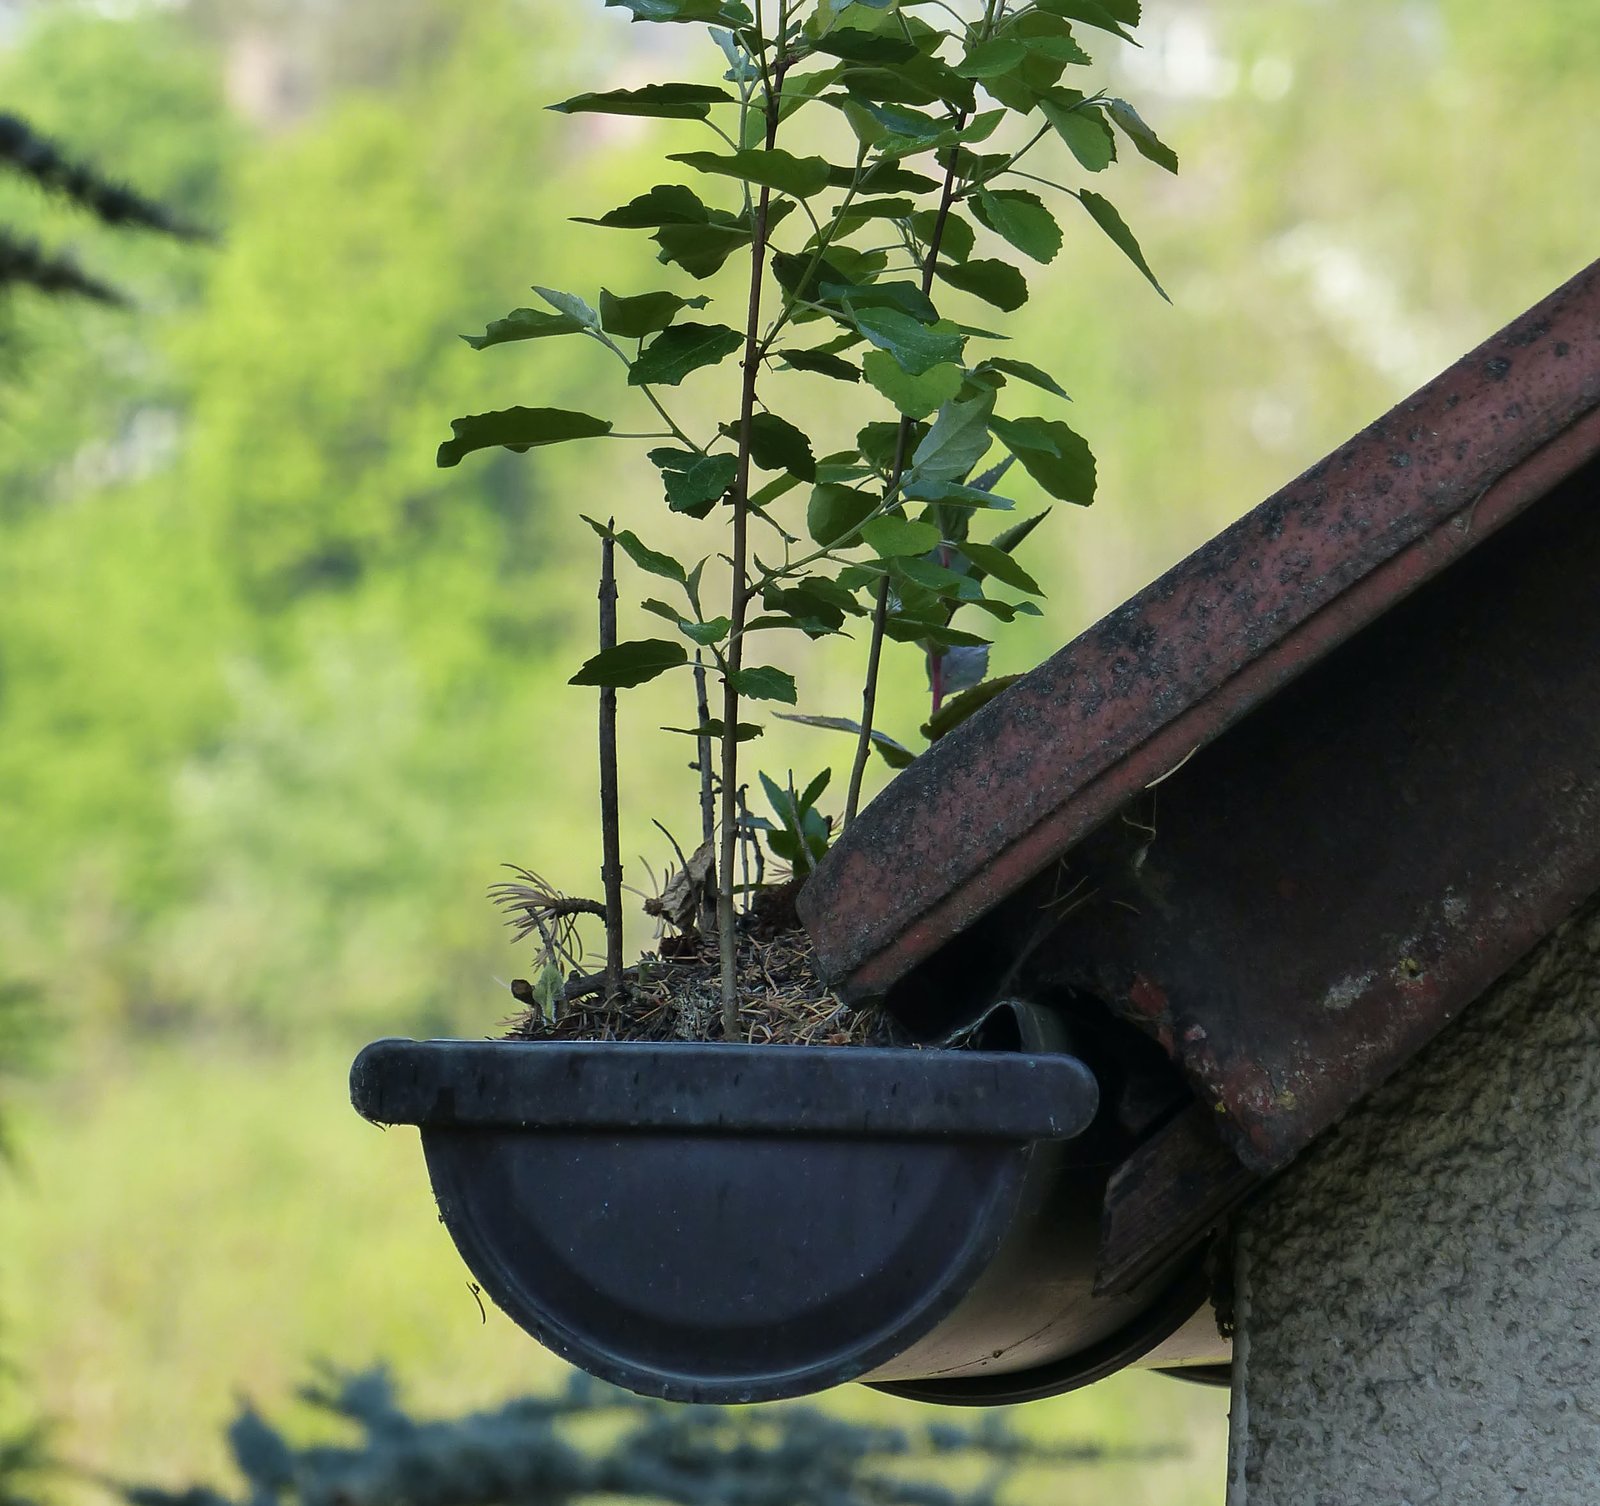
2. Thoroughly Clean The Entire Gutter System Surrounding Your Home
Before the actual repair process can begin your gutters will need to be swept clean of all debris, from the neighbor’s kid’s softball lodged in the swales to the smallest of pine needles (a gutter damaging culprit which can hide tiny leaks). Not only will you want to clean your gutters, but your roof (using a roof take) as well so that debris from above does not make its way into the eaves during the entire process (or after the fact, for that matter).
3. Check for Unnoticed Leaks
While you’ve likely started this whole thing because you became aware of a gutter leak after a recent rain storm, identifying the point of origin, it is best to inspect the entire system for unchecked leaks. The debris that existed within your gutters before the aforementioned cleaning may have been hiding smaller leaks. Once clean, fill up your gutters (using your garden hose after temporarily blocking downspouts) with water and step back with a keen eye to spot unanticipated leaks. You may be in for a few more repairs than anticipated.
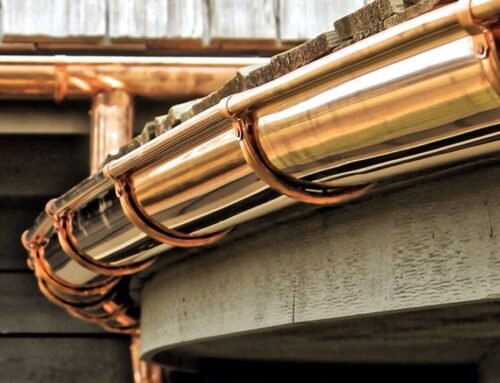
4. Let the Healing (Sealing) Begin
Your gutters are squeaky clean, your leaks have been identified and marked, so now it’s time to get to business. Where there are leaks at the seam of your gutters (where gutter lengths join) you will want to ensure that the lengths are aligned and pressed tightly together. Once held in place, apply gutter sealant to BOTH sides of the joints and spread the sealant evenly so that it runs in slight excess of the length of the spot needed for repair. For leaks at the end caps of your gutters the sealant should be applied to the inside of the end cap joints (example of an end cap here). When it comes to actual holes in the gutter material (as opposed to a joint section) you will need more than sealant. In this more dramatic case, providing your hardware professional with intel on whether you have aluminum or fiberglass gutters along with additional specifications (thickness, brand, etc…) will allow them to recommend the right leak-repair product for your gutter system. Purchase the recommended product and apply to your gutter material as instructed. Once you’ve completed your leak repairs, you will likely want to cover up the sealed areas for aesthetic appeal. Give the sealant enough time to dry and apply touch-up paint to the visibly repaired areas.
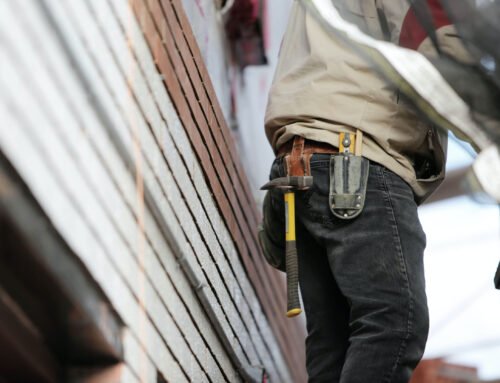
5. When It Feels Too Daunting, Bring in a Professional
While this last tip may not fit neatly into the DIY part of the process you may find that after you’ve started the gutter repair on your own that the leak damage is far beyond the scope of your ability to repair. You’re not admitting defeat in this circumstance, you’re making a wise decision that will not only serve the longevity of your gutter system, but all exterior areas of your home potentially impacted by leaky gutters. Contact AquaSeal today to inquire about our gutter repair services.


Leave A Comment