

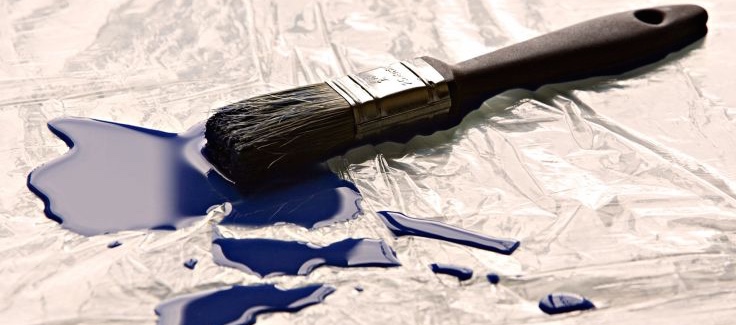
The call to paint your gutters often comes after a do-it-yourself (DIY) repair job. How challenging the task may be will depend upon the type of material your system has been constructed from and of course the amount of wear and tear your gutters have sustained. In order to avoid your DIY paint job from looking like a patchwork pre-school art project it is important to know a few things going in. Today we look at everything that you need to know before painting (or repainting) your home’s gutter system.
5 Key Steps to a Successful Gutter Paint Job
1. Know Your Gutter System Material
Vinyl gutters are the easiest to paint. Since they are already manufactured with a coat of paint (coming in a wide variety of colors) homeowners simply need to match the color options to the tone of the existing system and paint the post-repair section that needs the new coating. If you wish to repaint the entire vinyl system doing so is also relatively seamless as there are fewer crevices and edges to contend with, providing for a smoother surface that was made to be painted. It’s worth mentioning that traditionally homeowners avoid painting vinyl in a darker color as this can increase heat absorption (on hot days) and cause the gutters to expand, buckle and warp. When it comes to aluminum gutters many have the misconception that they cannot be successfully painted, but this is incorrect. Aluminum takes more care and will require both a primer and paint (more on this below) suited specifically to its surface, but it can indeed be done.
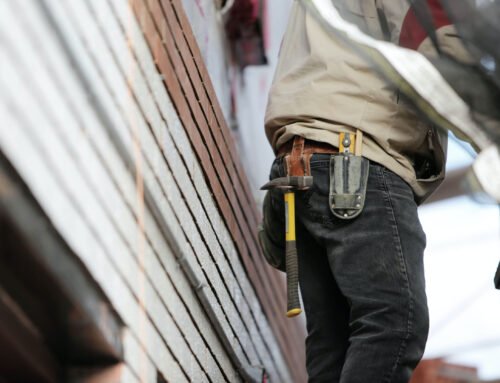
2. Attach or Detach to Paint
Your next big decision is in regards to whether or not you should detached the section/s of your gutters slated for painting and perform the task on the ground area, or to leave them up there and climb up on a ladder to do the duty. This will depend upon your comfort level with heights, ease of gutter section removal, and how much of your system needs to be painted. If you’re only painting a few feet then it makes sense to detach the gutter section and paint with great care to ensure that the newly painted length matches the ones remaining up on the eaves of your home. If over 50% of your system requires painting it would be far less daunting to climb on up (if comfortable in doing so) to paint from above on a sturdy ladder (with a helper down below).
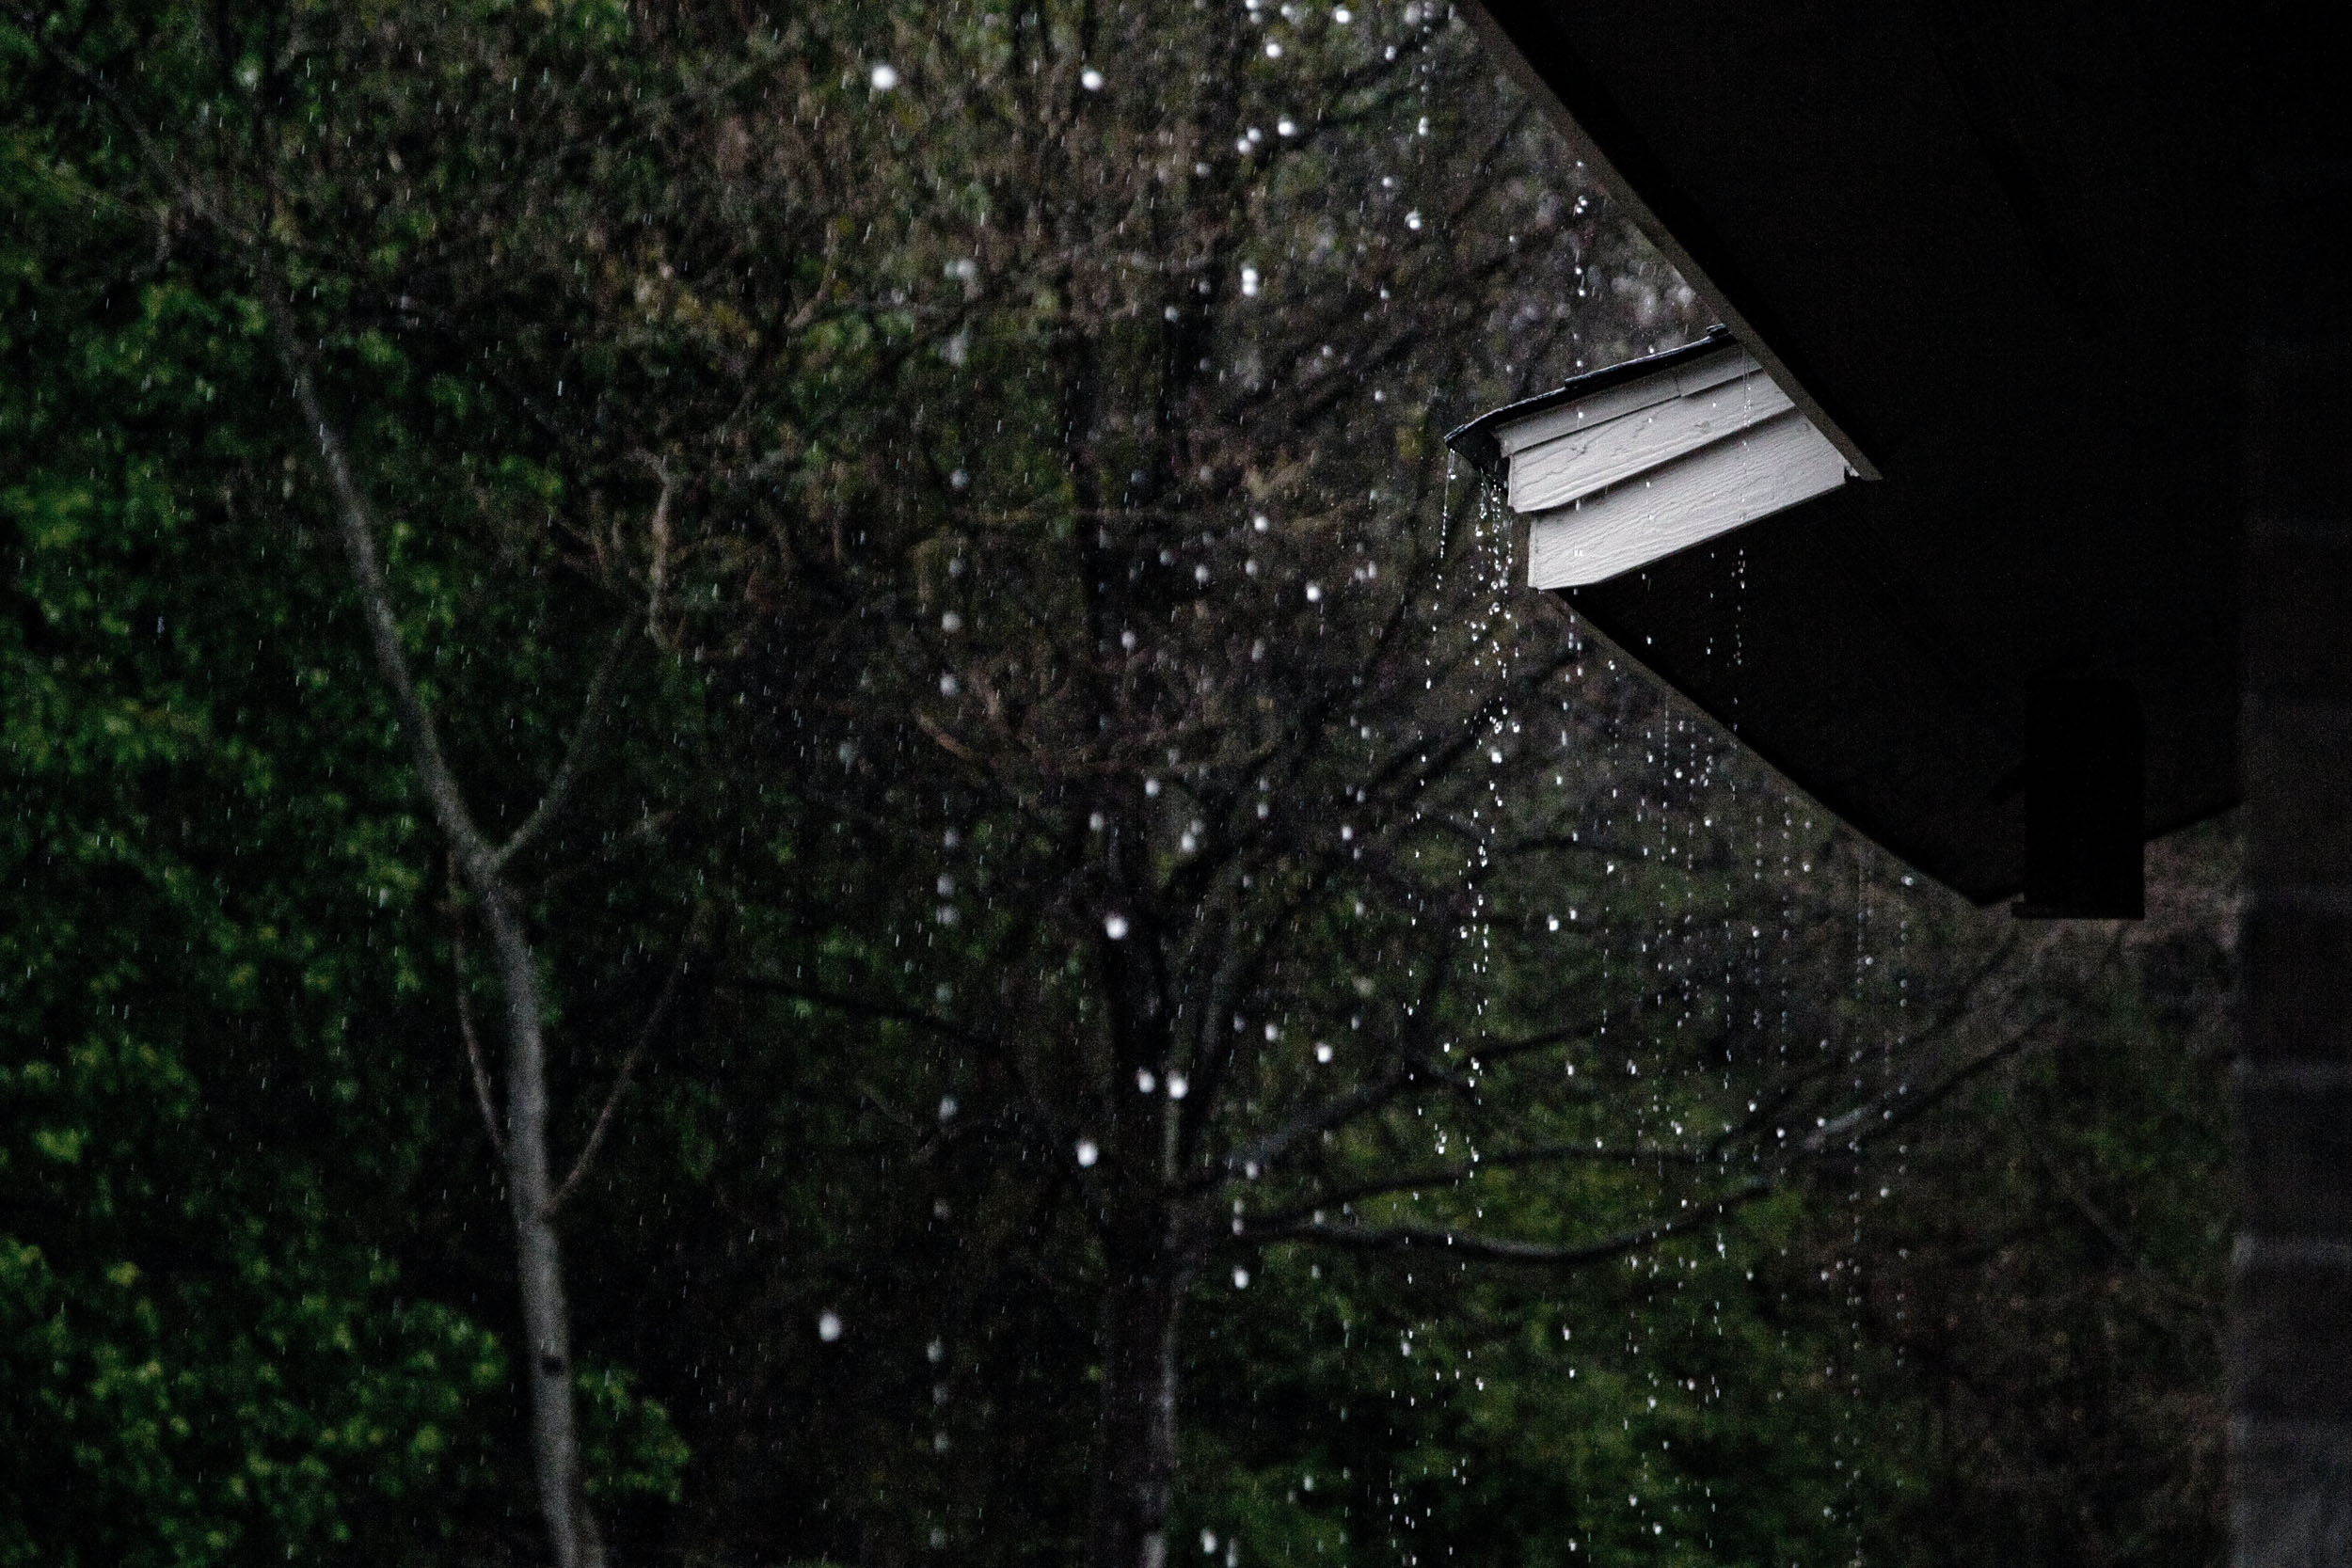
3. Thoroughly Clean the System
This tip precedes all DIY projects as they relate to your gutter system, especially when it comes to paint jobs. One bit of dirt, debris, and old paint can ruin not just the aesthetic but the function of the newly painted section/s, causing the paint to bubble and peel after the first bout of rain. A simple hose down will not suffice, you will need to perform a thorough scrubbing. If repainting over a paint-chipped surface be sure to apply an eco-friendly paint removal solution (found at your local hardware store) and proceed to scrape and wipe away all old residue. When it comes to the cleaning, you will need a deep bucket filled halfway with warm water and liquid detergent (dishwashing detergent will do for most jobs), a large sponge, and a scrub brush for the tougher sections. In a circular motion wipe and scrub away all debris and greasy film from the section/s until a clean sweep of your bare finger evidences not one speck of dirt. Once satisfied you can take the next step.
4. Add a Coat of Primer
You will need to select a primer best suited to your gutter material (as per item #1 above). For vinyl gutters it is often not necessary to apply a primer, however applying a latex primer is recommended before painting with acrylic latex paint in order to increase adhesion and allow better coverage by the top coat. For aluminum, your best bet is a clear acrylic bonding primer which will best penetrate the aluminum surface, forming a superior foundation for a coating of 100 percent acrylic paint. Another primer alternative for aluminum gutters is a standard oil base metal primer. For optimal effect, thin the primer with 16 oz of thinner per gallon of paint. Be sure to avoid using latex primer on your aluminum gutters. They contain ammonia which will react with oxidized aluminum, causing a chemical reaction that creates a gas bubble just beneath the latex paint skin.
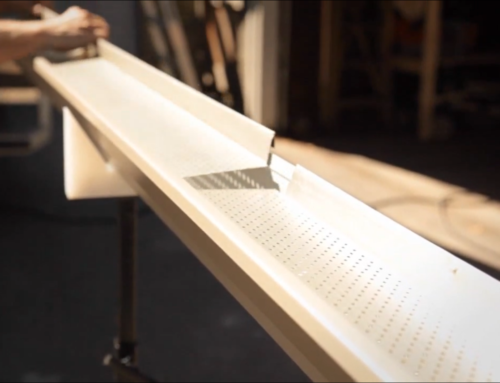
5. Use a Material-Approprite / Weather-Protectant Paint
After 48 hours (allowing enough time for the primer to dry) you’re ready to get painting. For vinyl gutters, select a vinyl-specific paint, such as acrylic latex paint. If you are insistent upon going with a darker tone, companies like Benjamin Moore have exterior vinyl paints that will withstand the heat stress of expansion and contraction. Since vinyl is especially susceptible to the damaging rays of the sun you will want to seek a UV-safe paint if you reside within a hotter climate. On vinyl, you can easily use a standard home exterior paint brush or foam. For aluminum/metal gutters, apply an initial coat of oil-based high-gloss enamel (allowing rainwater and debris to flow across the surface with ease) followed by a second coat after the first has dried. Once the second coat of enamel has dried you can apply your 100 percent acrylic paint, with layers contingent upon how well your aluminum gutters take to the tone. Since aluminum gutters have rougher edges and less-visible divots you will likely gain better coverage with an airless sprayer and a fine tip brush and plenty of cardboard to shield the remaining exterior of your home near the point of spraying. It should be noted that when possible, plan your gutter paint job when the seven-day forecast is favorable (clear skies and moderate temperatures).


Leave A Comment